Understanding On-site Videography
What is On-site Videography?
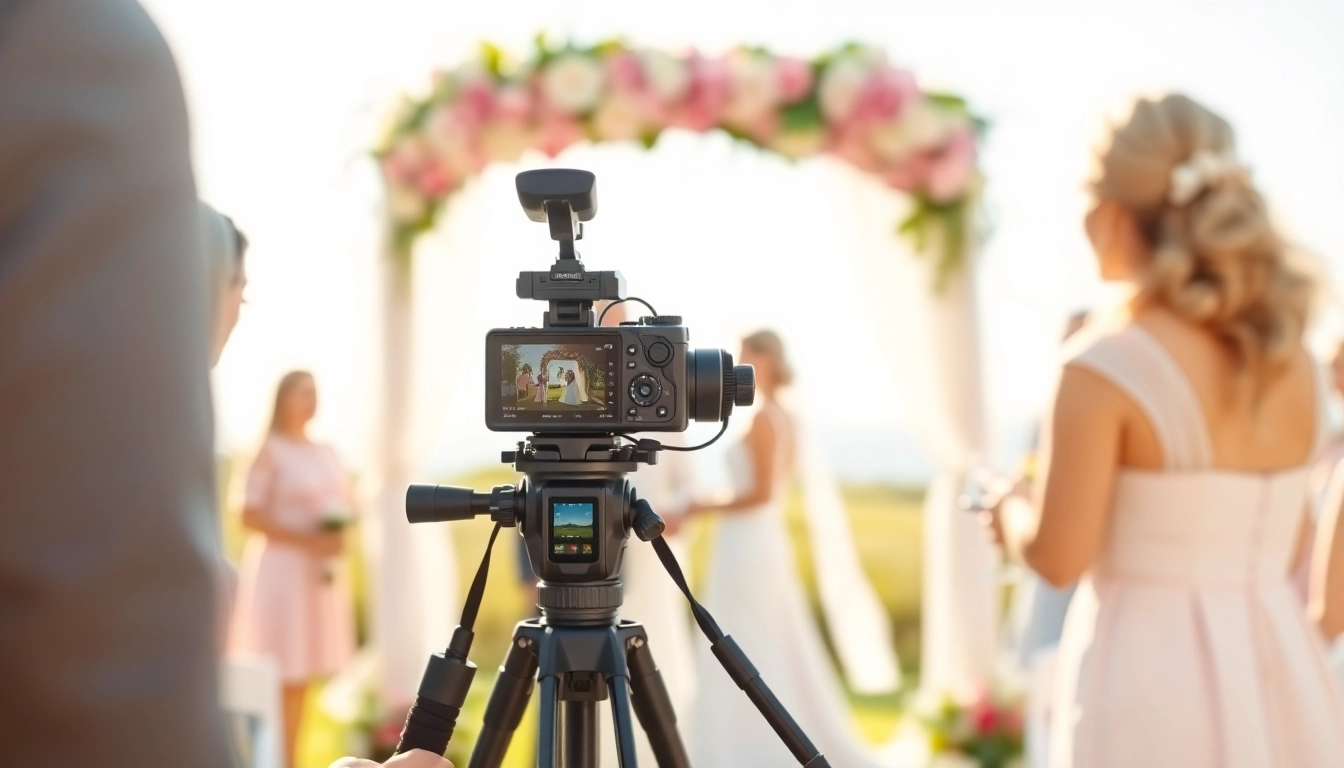
On-site videography is the art of capturing video footage in real-time at specific locations, typically during events such as weddings, corporate gatherings, and performances. Unlike traditional videography, which might take place in controlled settings, on-site videography relies on the spontaneity and energy of live events. By utilizing sophisticated equipment and techniques, videographers can document experiences as they unfold, offering viewers a vivid and immersive perspective. This dynamic approach appeals to clients looking for authentic representations of special moments, making On-site videography a sought-after service in the digital content space.
Essential Equipment for On-site Videography
Successful on-site videography depends on the right equipment. Essential tools include:
- Cameras: A range of cameras is required, from professional DSLRs to mirrorless cameras that offer high resolution and versatility.
- Tripods and Stabilizers: Stable footage is crucial; tripods and gimbals help achieve smooth, shake-free shots.
- Microphones: Good sound quality can elevate footage; investing in lavalier and shotgun mics ensures audio clarity.
- Lighting Equipment: On-site conditions might not provide adequate lighting, so portable LED lights can enhance visibility.
- Editing Software: Post-production software like Adobe Premiere Pro or Final Cut Pro allows for advanced editing of footage captured on-site.
Key Techniques for Effective On-site Videography
Mastering on-site videography requires strategic techniques that can enhance the quality of the footage captured:
- Framing and Composition: Understanding the rule of thirds and utilizing leading lines can create compelling visuals.
- Dynamic Movement: Movement adds energy; employ techniques like panning, tilting, or tracking to engage viewers.
- Audio Monitoring: Regularly monitor audio levels with headphones to ensure clarity and prevent distortion.
- Shot Variety: Mix wide shots, close-ups, and cutaways to tell a more complete story through diverse perspectives.
Planning Successful On-site Videography
Creating a Shot List
A well-thought-out shot list serves as a roadmap for videographers during events. It ensures that all critical moments are captured while allowing for spontaneity. Start by discussing expectations with the client to identify key moments, such as speeches, dances, or toasts. This collaborative approach helps align visions and reduces the likelihood of missing important footage.
Coordinating with the Event Timeline
Timing is crucial in on-site videography. Collaborate with event planners or coordinators to understand the schedule and significant transitions. Having a clear awareness of the timeline allows the videographer to anticipate moments, ensuring that equipment is set up in advance and that there’s ample time to capture everything needed.
Communicating with Clients and Subjects
Effective communication can significantly enhance the outcome of on-site videography. Before the event, discuss the roles of various participants and establish trust. Continuously keep clients informed, addressing any last-minute changes or questions to create a seamless workflow that reflects the clients’ vision.
Executing On-site Videography
Setting Up Your Gear
The setup is often a deciding factor in the success of on-site videography. Arrive early to survey the location and determine optimal angles for shooting. Familiarize yourself with the venue’s layout, noting elements that may impact lighting and sound. Ensure that your gear is in working condition, and have backups ready to avoid equipment failure.
Capturing Quality Audio
Audio quality can make or break a video project. Utilize dedicated microphones tailored to the event’s needs, such as wireless lav mics for speakers and shotgun mics for capturing ambient sound. Conduct sound checks prior to the event and monitor audio levels throughout the recording to manage any unexpected noise interference.
Adapting to Light Conditions
Light conditions can vary dramatically during events, affecting the overall quality of footage. Be prepared to adapt by adjusting settings on your camera, such as ISO and aperture, to accommodate low or high-light environments. Using reflectors or external lighting can help in poorly lit situations, ensuring your footage remains clear and vibrant.
Post-Production for On-site Videography
Editing Techniques to Enhance Footage
Post-production is where the collected footage transforms into a cohesive video. Familiarizing yourself with various editing techniques, such as color grading, trimming, and transitions, can elevate the final product’s quality. Incorporating effects like slow motion or time-lapses can also add visual interest and draw viewers into the narrative.
Choosing the Right Music and Effects
Music plays a vital role in setting the mood of the video. When selecting tracks, ensure they align with the event’s tone and the client’s preferences. Additionally, sound effects can be layered strategically to enhance storytelling. Always verify the licensing rights to avoid copyright issues when using music in your projects.
Finalizing and Delivering the Content
Once editing is complete, the final step is to deliver the content to the client. Ensure that the video is rendered in the appropriate format for its intended use, whether for social media, personal sharing, or archival purposes. Provide clients with both high-quality files and compressed versions for ease of sharing. Additionally, collecting feedback can help in refining future projects.
Best Practices and Tips in On-site Videography
Consistency in Visual Style
A consistent visual style helps establish brand identity and maintains audience interest. Choose a color palette and visual theme that reflects the event’s spirit. Consistently applying these elements throughout the footage creates a more polished and professional final product.
Engaging Your Audience with Storytelling
On-site videography is not merely about documenting events; it’s about storytelling. Leverage interviews and candid moments to shape a narrative that resonates with viewers. Consider building a clear timeline, from the build-up to the climax, ensuring each segment flows seamlessly into the next.
Common Mistakes to Avoid
Even seasoned videographers can make errors that detract from the footage. Common pitfalls include failing to check equipment before the event, over-using static shots, neglecting audio quality, and being too rigid with the shot list. Stay adaptable and learn from each experience to enhance your skills continually.
FAQs
What is the difference between on-site videography and traditional videography?
On-site videography captures live events in real-time, offering an authentic experience, whereas traditional videography often utilizes scripted or staged content.
What equipment do I need for on-site videography?
Key equipment includes high-quality cameras, tripods, microphones, and appropriate lighting gear to ensure optimal video production quality.
How do I ensure good audio quality in on-site videography?
Invest in quality microphones and constantly monitor audio levels during recording to achieve clarity over background noise.
What are some common challenges faced in on-site videography?
Challenges include fluctuating light conditions, unexpected distractions, and tight timelines; proper preparation and adaptability can help mitigate these issues.
How can I improve my on-site videography skills?
Regular practice, studying expert works, seeking constructive feedback, and staying informed about new techniques and tools are key to improvement.